Chocolate, Banana’s & Cream, Mmmmmm
Posted on
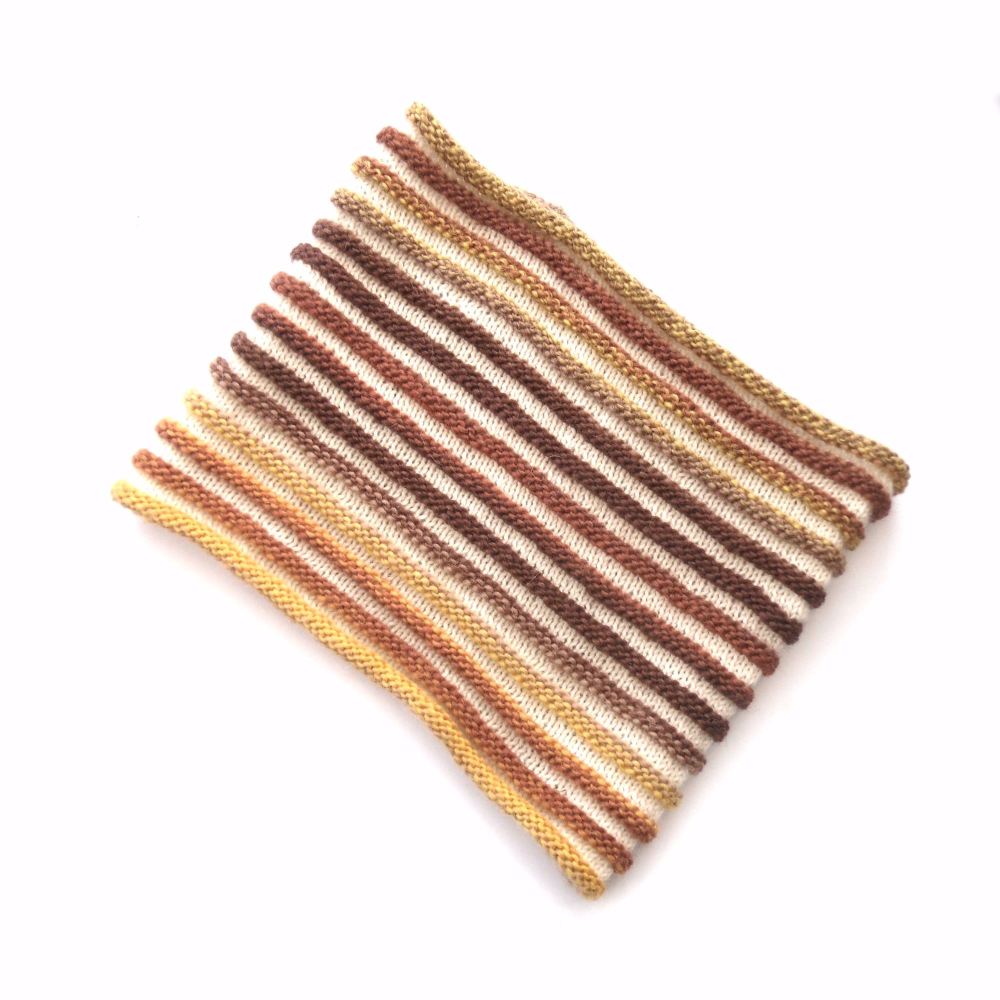
When I had finished knitting this little number, the first title that came into my head for this blog posting was “14 shades of Brown”. Bit risky, I know, it might get a snigger out of one or two of you, but it is seriously what popped into my head. Each stripe of this cowl really shows off another shade of brown (with a touch of yellow and green). Now it’s no coincidence, I did sort of plan it that way, but I didn’t expect it to work out so well.
 |
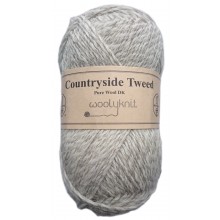
I used just 2 yarns in this project. One was some of my undyed DK Baby Alpaca Luxury yarns that I sell on-line. I deliberately choose the DK weight as I wanted it to have a lighter more airy feel to it than the yarn I was going to choose for the contrasting stripes. |
For the stripes I looked out for a colour changing yarn, that was a thicker weight than the DK and that had long lengths of colour in it before it changed into the next colour. The colours needed to “bleed” into each other for a subtle colour change. I didn’t want the colours to just abruptly change as that would spoil the whole effect.
I choose Drops BIG DELIGHT Print which is an Aran weight yarn in 100% wool. It comes in 100 gram balls (190m / 208 yards) and I didn’t use the whole 100 grams for this project. Just look at the gorgeous colours to choose from . I choose the "Chocolate Banana" colour but just looking at those colours I can see I am going to have to try this project out on another ball or two! I am fancying "Wild Berries" or "Rose Garden".
| I knew I wanted to knit a cowl. I wasn’t particularly bothered as to whether it was going to have a small circumference and be more like a snood that I could take over the head or whether it was going to have a larger circumference like an infinity scarf. What I did want though was each of the colourful stripes to be subtly different to the last stripe. I had to do some measuring and swatching. First I needed to measure how far it was between each subtly colour change. I then swatched my knitting on the needles I was going to use to see how much yarn I used when knitting a set number of stitches. It only had to be an approximate measure, just to ensure that my method would work. | 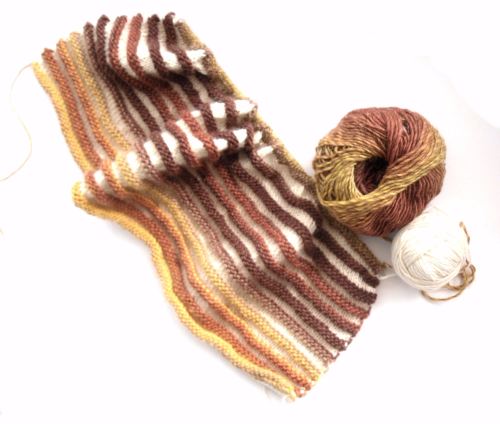 |
The difference between the colour changes for this yarn was approx 5m so if you have some colour changing yarn in your stash that you want to use for this project then that’s what you need to look for.
INSTRUCTIONS
Cast on 120 stitches using 4.5mm straight needles and the colour changing yarn.
Row 1 (RS): Purl
Row 2: Knit
Row 3: Purl
Row 4: Knit
Change to the Baby Alpaca yarn and then work the next 8 rows 14 times
Row 1 (RS): Knit
Row 2: Purl
Row 3: Knit
Row 4: Purl
Change to the colour changing yarn
Row 5 (RS): Knit
Row 6: Knit
Row 7: Purl
Row 8: Knit
Cast off in Purl using the colour changing yarn.
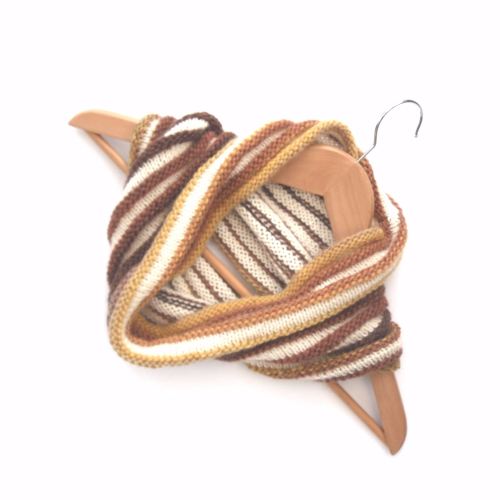
Just a very light blocking is required and then sew up the 2 cast on and cast off ends together. The finished result should look something like this.
