Sandra's Designing Blog

This is an exclusive area of my web site where you can find out more about my knitted designs, what inspires me, how I work and what I like (and don't like) to design. 
 
Click on the arrows on the right to see my other blog posts.
 

 RSS Feed

» Listings for 2016

  1. I've been seriously knitting now for the past 6 years, designing and writing patterns for the last 18 months. When I first started knitting I went on some knitting workshops at Rowan's HQ in Holmfirth, but lately I am teaching myself as I work through this myriad of knitting techniques and garment construction.

    The tip for me is to challenge myself to knit or learn something new each week, every time I pick up my needles to cast on their needs to be a challenge in their somewhere. That's why for the last few weeks I have been so busy knitting my very first FairIsle sweater. 

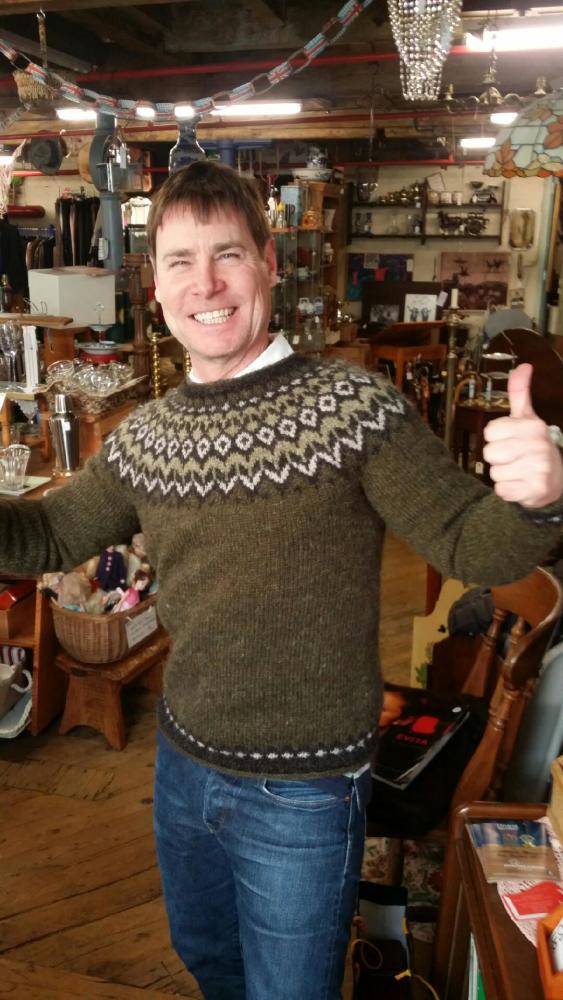
    A friend of mine asked me last Spring if I would knit this sweater for him. He had fallen in love with the design whilst visiting Reykjavík  some 7 years previously, walked in to a local yarn store, bought the pattern and yarn and then came home with it with no knowledge of how to get it knitted in to his beloved garment.  Hence why I got asked.

    photo (61) 

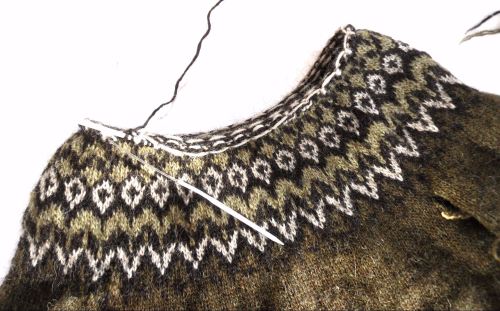
    Normally I don't take commissions where I haven't designed the pattern, but this was an exception. I checked the pattern over and it had all the ingredients for a challenge. Sleeves were knitted on DPN's and at the time I had knitted only a couple of pair of socks on DPN's so I knew my technique needed some improvements. I had never knitted a whole garment in the round, joining the sleeves on to the main body and then working a "yoke" were all new concepts for me. My FairIsle skills were limited to tea cosies, mug cosies and a few cushions so spending time perfecting FairIsle whilst getting a professional finish to my work both outside and in was important.   The only sewing up that was needed was "grafting" underneath the arm holes. That dreaded Kitchenor stitch that I had learnt whilst knitting socks. It couldn't be too bad could it?
    sweaterwip4


    Pattern is RIDDARI from LOPI 28 knitted in Lett-Lopi 50 gram balls

    The truth ......... It was fairly easy but a little boring. The main body of the sweater where I was just knitting round and round and round really got to me and I couldn't wait for the exciting bit where I could join on the sleeves and do some more fairisle work..... oh wait , I need to knit both sleeves first. Then the fairisle work, pretty interesting and I loved seeing how the decreases were worked in to the pattern, but the rounds were so long !

    Did I learn anything?

    Yes

    Perserve with the boring bits, it's so worth it!

    The rolled up edging on both the cast on and cast off edges is a superb little trick, which I'm sure I will be using in a new design.  

    Concentrate on the Kitchenor stitch and throw away the instruction used in your knitted socks. Look at the knitting and work out where the needle needs to go.  I tried a few times and got there in the end. Looks lovely now. 

    If you wish to learn a new technique yourself then why not take a look at The All Free Knitting Web site. Plenty of opportunities to pick up a free pattern and challenge yourself in the process.

    Learn how to knit socks using DPN's here.


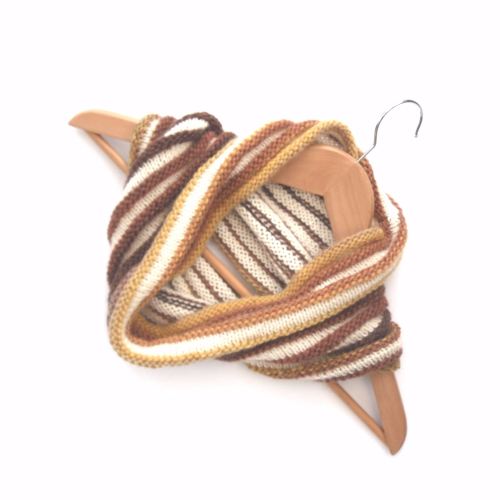
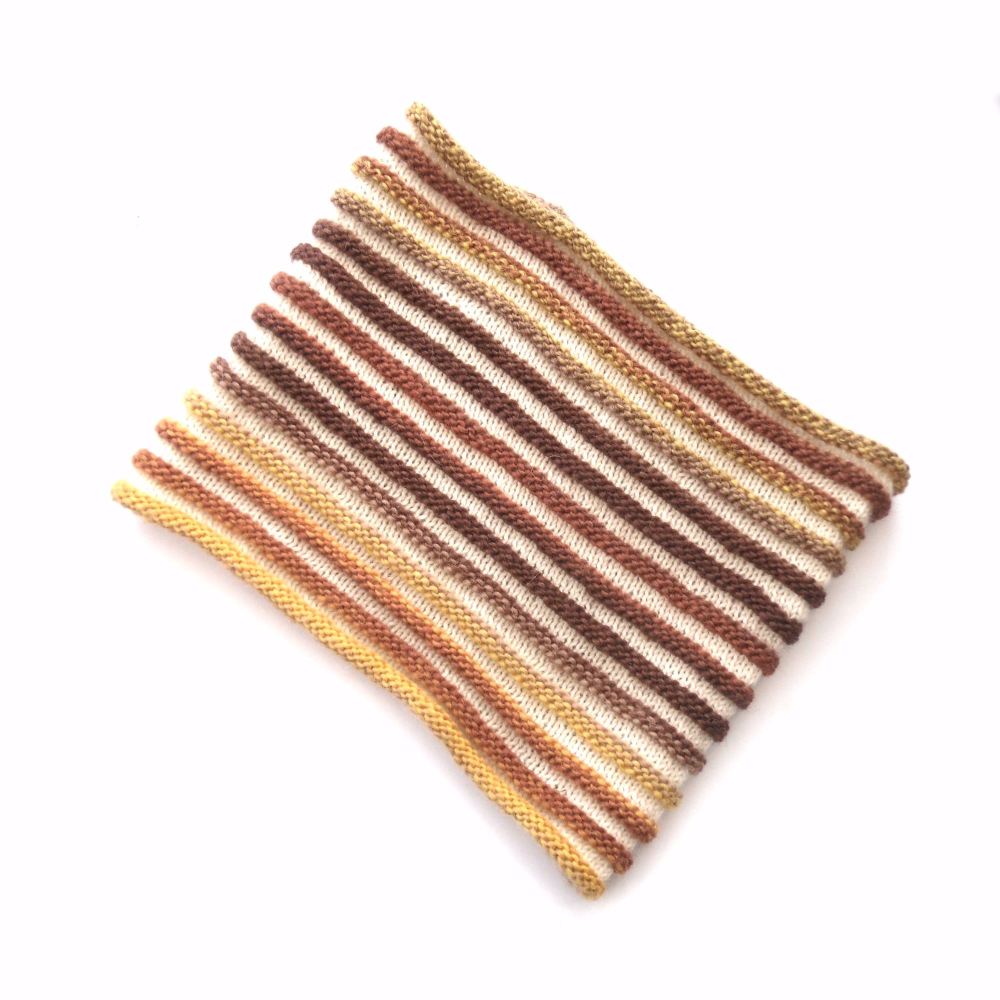
  2. When I had finished knitting this little number, the first title that came into my head for this blog posting was “14 shades of Brown”. Bit risky, I know, it might get a snigger out of one or two of you, but it is seriously what popped into my head. Each stripe of this cowl really shows off another shade of brown (with a touch of yellow and green). Now it’s no coincidence, I did sort of plan it that way, but I didn’t expect it to work out so well.

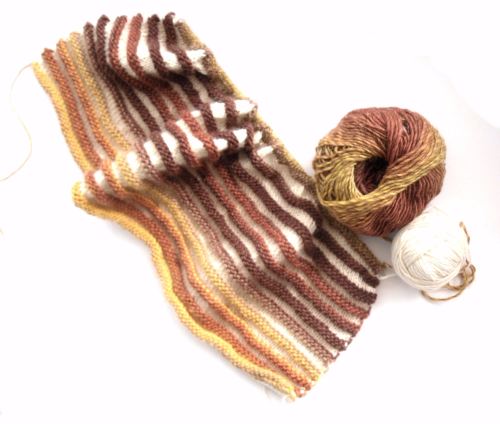
           sam_6597  I used just 2 yarns in this project. One was some of my undyed DK Baby Alpaca Luxury yarns that I sell on-line. I deliberately choose the DK weight as I wanted it to have a lighter more airy feel to it than the yarn I was going to choose for the contrasting stripes.
       

    For the stripes I looked out for a colour changing yarn, that was a thicker weight than the DK and that had long lengths of colour in it before it changed into the next colour. The colours needed to “bleed” into each other for a subtle colour change. I didn’t want the colours to just abruptly change as that would spoil the whole effect.

    I choose Drops BIG DELIGHT Print which is an Aran weight yarn in 100% wool. It comes in 100 gram balls (190m / 208 yards) and I didn’t use the whole 100 grams for this project. Just look at the gorgeous colours to choose from . I choose the "Chocolate Banana" colour  but just looking at those colours I can see I am going to have to try this project out on another ball or two! I am fancying "Wild Berries" or "Rose Garden".

     I knew I wanted to knit a cowl. I wasn’t particularly bothered as to whether it was going to have a small circumference and be more like a snood that I could take over the head or whether it was going to have a larger circumference like an infinity scarf.  What I did  want though was each of the colourful stripes to be subtly different to the last stripe. I had to do some measuring and swatching. First I needed to measure how far it was between each subtly colour change. I then swatched my knitting on the needles I was going to use to see how much yarn I used when knitting a set number of stitches.  It only had to be an approximate measure, just to ensure that my method would work.    sam_6591

    The difference between the colour changes for this yarn was approx 5m so if you have some colour changing yarn in your stash that you want to use for this project then that’s what you need to look for.

    INSTRUCTIONS

    Cast on 120 stitches using 4.5mm straight needles and the colour changing yarn.

    Row 1 (RS): Purl

    Row 2: Knit

    Row 3: Purl

    Row 4: Knit

    Change to the Baby Alpaca yarn and then work the next 8 rows 14 times

    Row 1 (RS): Knit

    Row 2: Purl

    Row 3: Knit

    Row 4: Purl

    Change to the colour changing yarn

    Row 5 (RS): Knit

    Row 6: Knit

    Row 7: Purl

    Row 8: Knit


    Cast off in Purl using the colour changing yarn.

    Just a very light blocking is required and then sew up the 2 cast on and cast off ends together. The finished result should look something like this.

    sam_6598